We capture a lot of photos and memories on the go and it’s not easy to organize and manage photos on smartphones. Whenever we run out of space, we transfer all our photos to the PC or external storage. Knowing how and having the correct tools makes organizing digital images and memories easier. Windows 11 has many features that can help you handle and arrange your photos better.
Here, we’ll look at some of the best methods for Windows photo library organization, such as using the Microsoft Photos app, adding tags, changing photo information, and making backups of your images. Additionally, we will talk about similar Photos Fixer Pro, a robust program that can assist you in controlling similar pictures.
Organizing with the Microsoft Photos App
The Microsoft Photos app with Windows 11 is a powerful feature that makes organizing digital photos easier. You can find this app in the Start menu, and most people pin it to the dock to make it easy to get to. Your photos will be in chronological order when you open the app. Here are some ways that this app can help your business:
Method 1: Make Folders
Grouping photos is a simple way to organize them. By arranging images into folders based on themes, occasions, or other criteria, you may instantly access certain photos without navigating through managing photo collections.
Step 1: Open the Pictures app from Microsoft.
Step 2: Select “Folders” from the menu.
Step 3: Create a folder using “Add a folder”.

Step 4: Label your box “Holidays,” “Trips,” “Family Gatherings,” etc.
Step 5: Drop photos into the folder or paste them with Ctrl + V.
Method 2: Tag People, Pets, Places, and More
Tags make photo library management easy to sort and look through pictures quickly. Each photo can have several tags, making it easier to search and arrange.
Step 1: Open Microsoft Pictures and find the photo to tag.
Step 2: Click and hold the photo, then select “Properties.”
Step 3: Select “Details”.
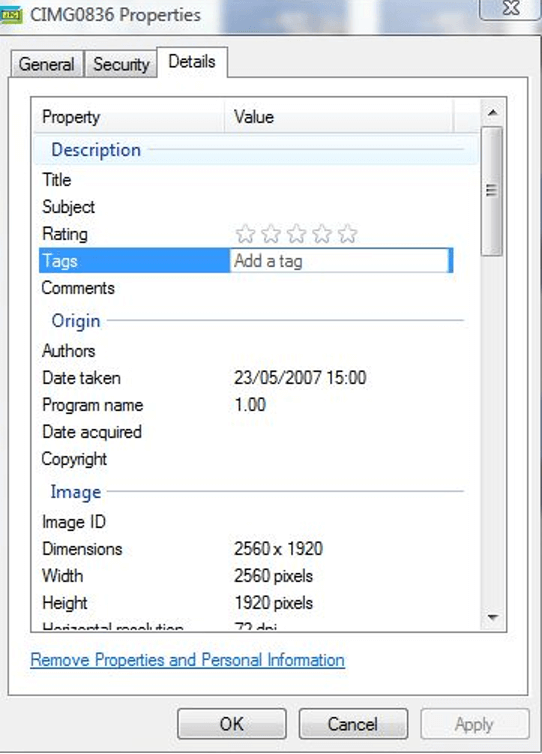
Step 4: Name the people, pets, places, and events in the photo in the “Tags” box.
Step 5: Save tags with “OK”.
Step 6: Search for photos by tag name in the app’s top bar.
Method 3: Edit Photo Details
Sometimes, metadata about your photos, like the date, time, or place, may be wrong. Making changes to these details will ensure correct sorting and make it easier to find photos.
Step 1: Find the picture you want to change in the Microsoft Pictures app.
Step 2: Right-click the photo and select “File info.”
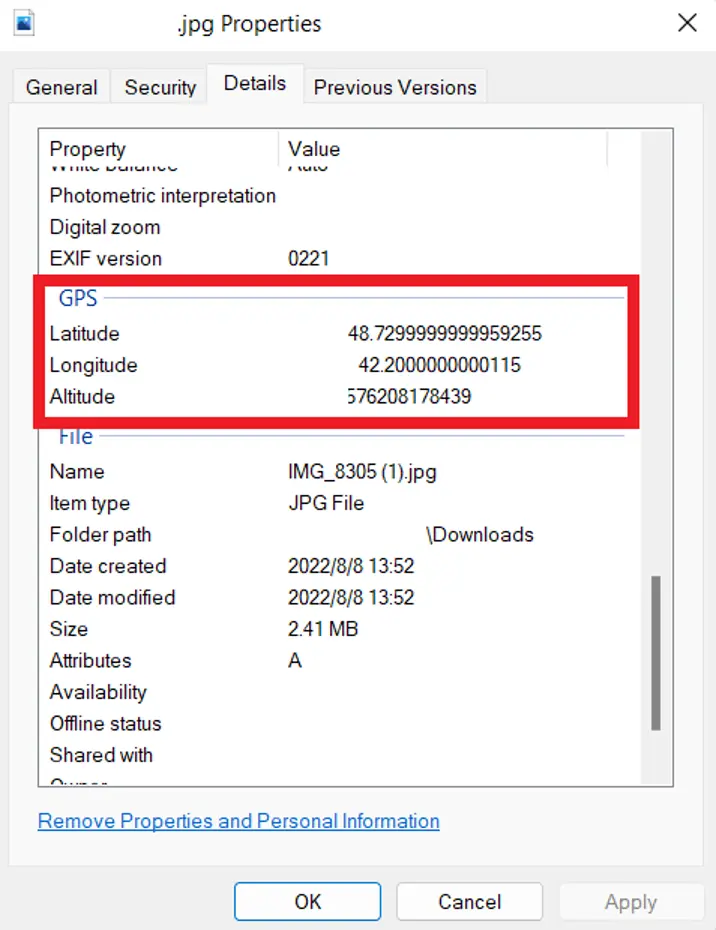
Step 3: Select the date, time, or place fields in the “File info” pane to update.
Step 4: Update necessary information.
Step 5: Save your changes to make the information up to date.
Method 4: Backup your Photos
Backing up your photos regularly keeps you from losing info. Microsoft OneDrive or Google Drive can be integrated on File Explorer to automatically backup your photos. You can also use it on your smartphone to back up and manage your photos library.
Step 1: Open your browser and access OneDrive or Google Drive on your computer.
Step 2: Go to your account and create a new folder or subfolder.
Step 3: Click to upload photos and name them properly.
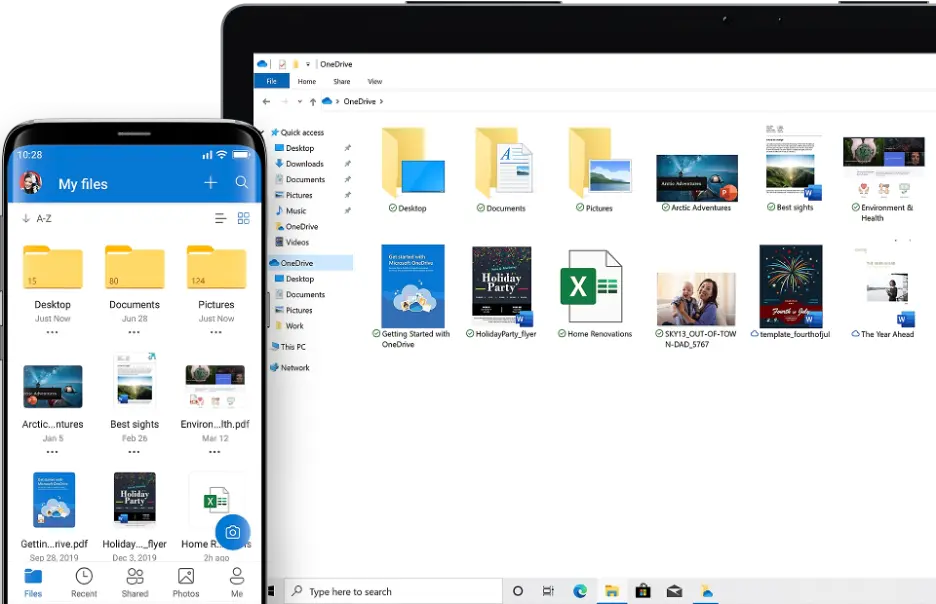
Step 4: Share automatically on OneDrive to save photos constantly.
Step 5: You can access your photos on any device by logging on to the drive.
Your digital photo library will be neat and simple thanks to these tips for decluttering digital photos.
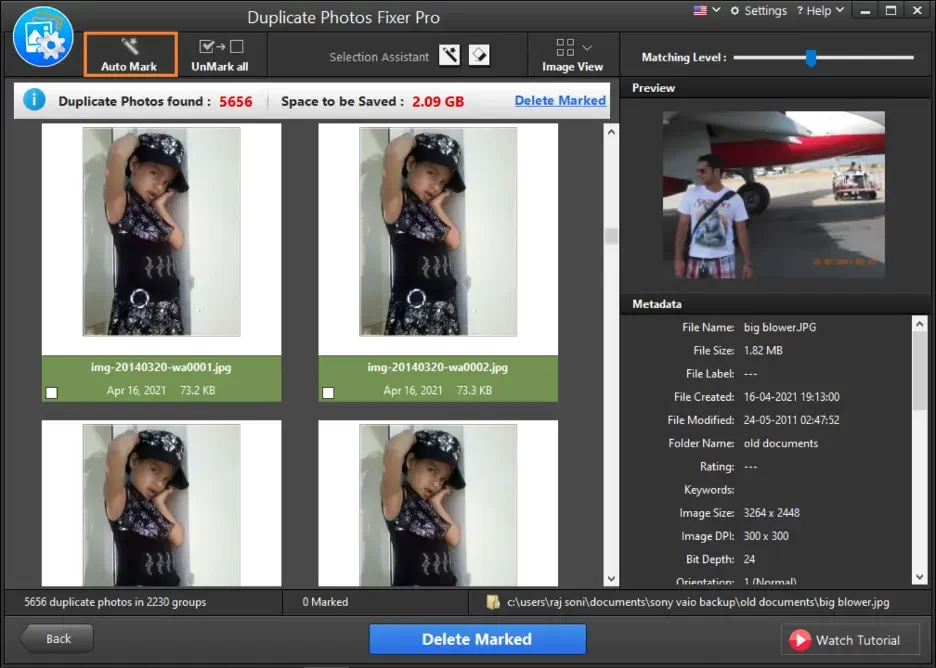
Use a Duplicate Photo Fixer
The best duplicate photo fixer can help you quickly find and remove all the duplicate photos on your storage. You can easily organize and manage your photo library with the help of a duplicate photo cleaner.
How to Use
Step 1: Drag and drop your photos or photo folders into the Duplicate Photos Fixer Pro interface.
Step 2: To start the scan, click the button that says “Scan.” Quickly, the software will look through your picture library to find duplicates and photos that look a lot alike.
Step 3: Look over the scanned results to ensure all duplicates have been appropriately found. You can see a sample of each picture before you delete it.
Step 4: The auto-mark tool will pick out all the duplicate photos for you. The software will not change the source photos.

Step 5: With just one click, you can eliminate all the unwanted duplicate pictures in your library. Once you’re happy with the auto-marked duplicates, click the delete button.
Step 6: Remove duplicate photos to free up extra disc space and create a more organized picture gallery.
Conclusion
Getting your Windows picture library in order doesn’t have to be complicated. Managing photo collections is easy if you use the built-in features of Windows 11, like the Microsoft Photos app, to make folders, tag photos, and change picture details. Backing up your photos regularly to a service like OneDrive will keep them safe and let you view them from any device. Get your picture library now to enjoy your digital memories quickly and easily. By using these tips and the right tools, you can turn a disorganized collection of photos into a library that is easy to find what you need.